
资源简介
本教程是关于PS风景自然环境背景特效合成技术视频教程,时长:1小时20分,大小:430 MB,MP4高清视频格式,使用软件:photoshop,附源文件,作者:Doug Landreth,共1个章节,语言:英语。
Photoshop是Adobe公司旗下最为出名的图像处理软件之一,集图像编辑、广告创意,数字绘画,图像输入与输出于一体的图形图像处理软件,深受广大平面设计人员和电脑美术爱好者的喜爱。多数人对于Photoshop的了解仅限于“一个很好的图像编辑软件”,并不知道它的诸多材应用方面,实际上,Photoshop的应用领域很广泛的,在图像、图形、文字、视频、出版各方面都有涉及。
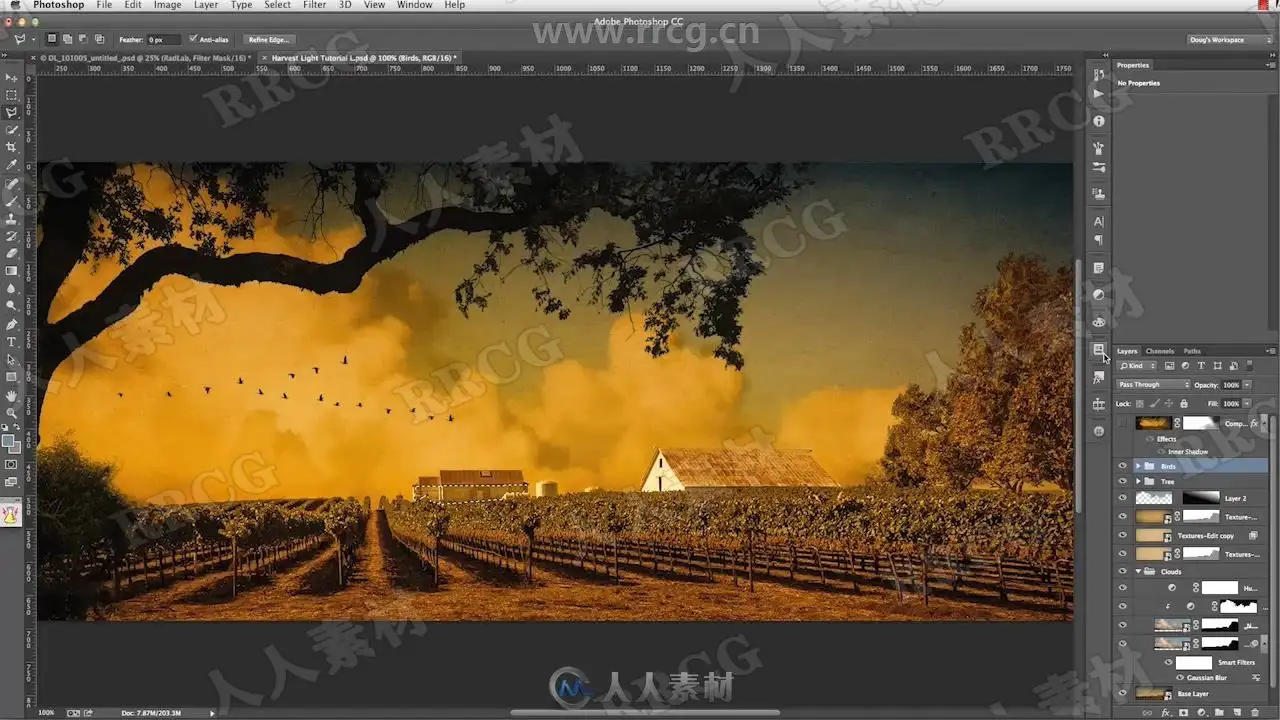
This tutorial has everything you need to create a rich Maxfield-Parrish-inspired landscape and learn advanced photoshop compositing techniques.
Topics Covered:
Using actions in a workflow
Working with smart objects
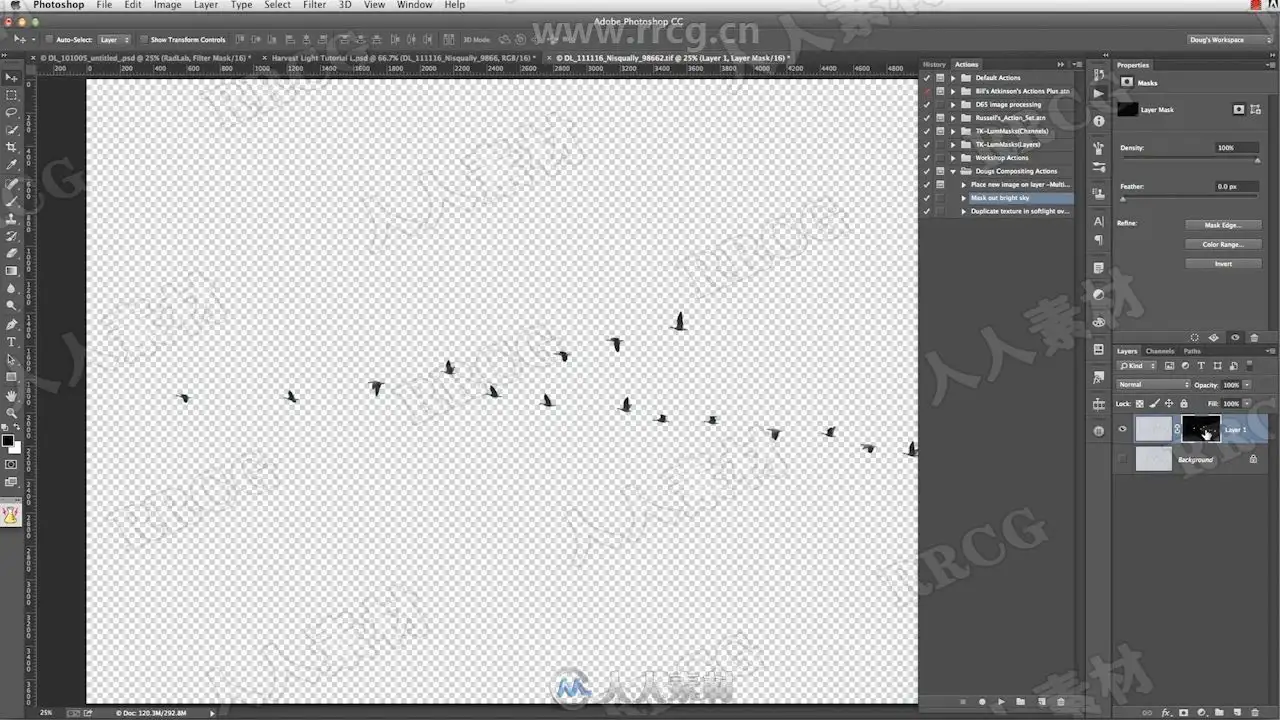
Using colors and tones to make accurate selections and masks
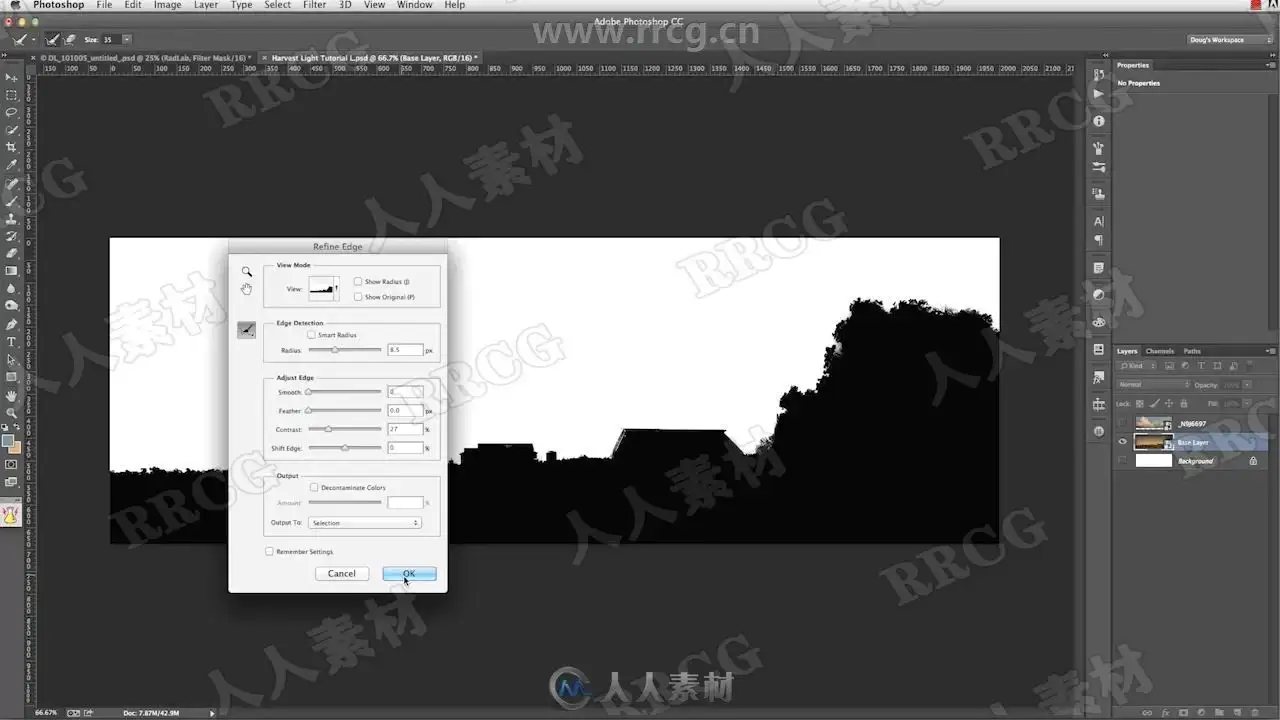
Fine tuning masks
Composite sky/background
This tutorial includes:
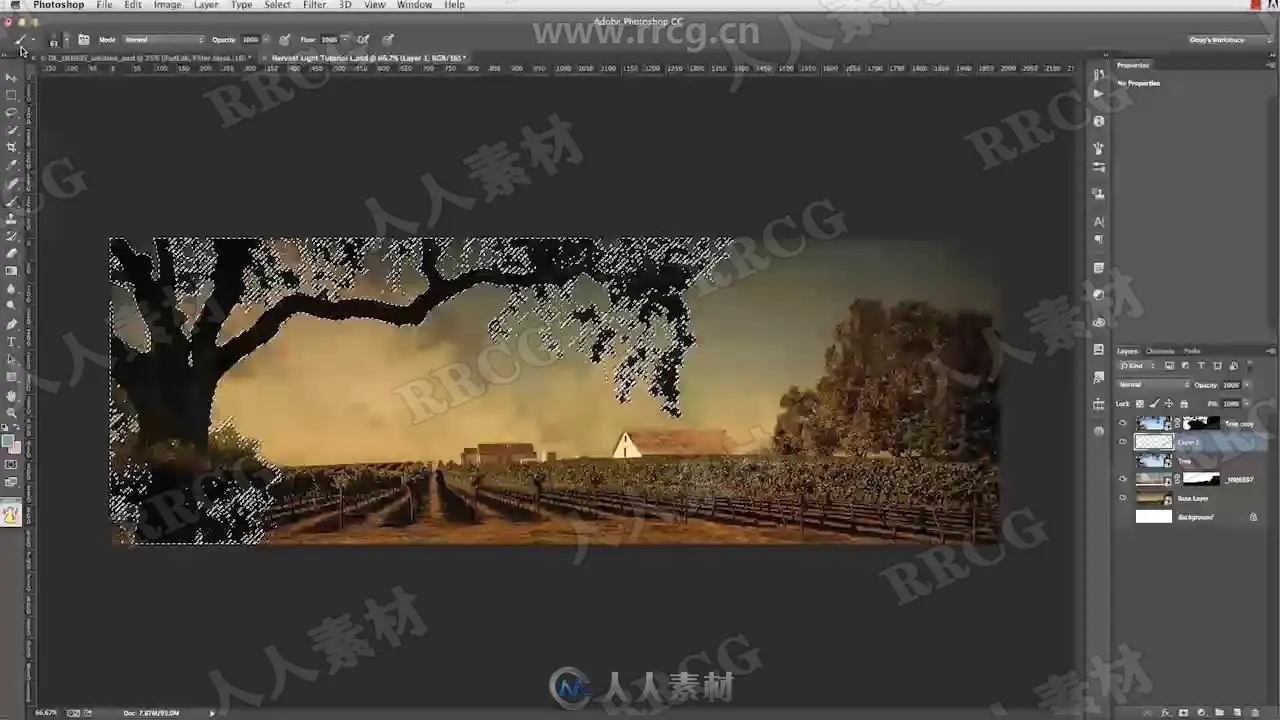
In-Depth Video Tutorial: Doug Landreth shows you how to easily create a stunning composite in the style of Maxfield Parrish using texture, landscape, cloud and sky images. Time: 1hr 20min.
Source Files: Follow along using high resolution JPEGs of every image used in the composite (up to 3500 pixels).
Texture Files: 2 unique textures. Use them in this lesson and in your own artwork.
Custom photoshop Brush: Effects brush created specifically for this lesson.
Quick Start PDF Tutorial: In a hurry? Work with this abridged PDF version.
Final image: A copy of the final image so you can zoom in to scrutinize and compare every artful detail.
5 photoshop Compositing Actions:
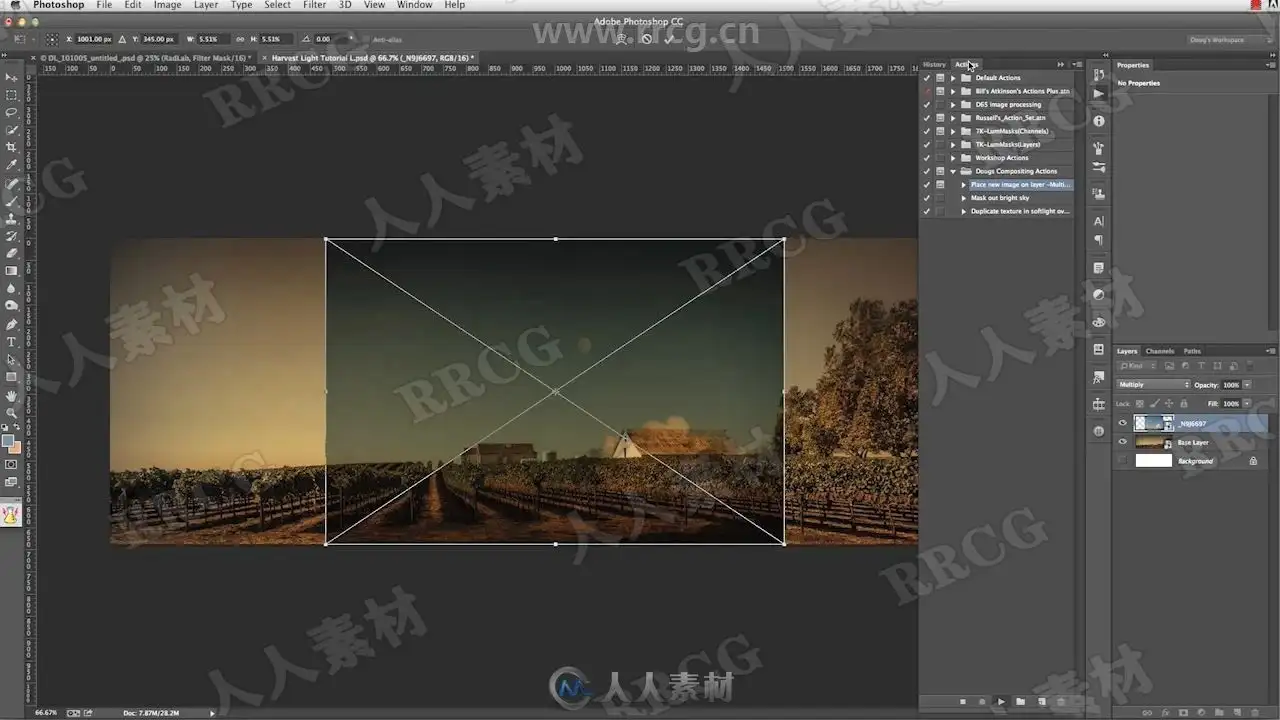
“Place new image on layer -Multiply” places a new image as a smart object onto a new layer, centered and sized to fit inside the current document. After confirming the placement, the action sets the blend mode to multiply and reactivates the free transform command to make it easy to move and scale the new image over the existing image.
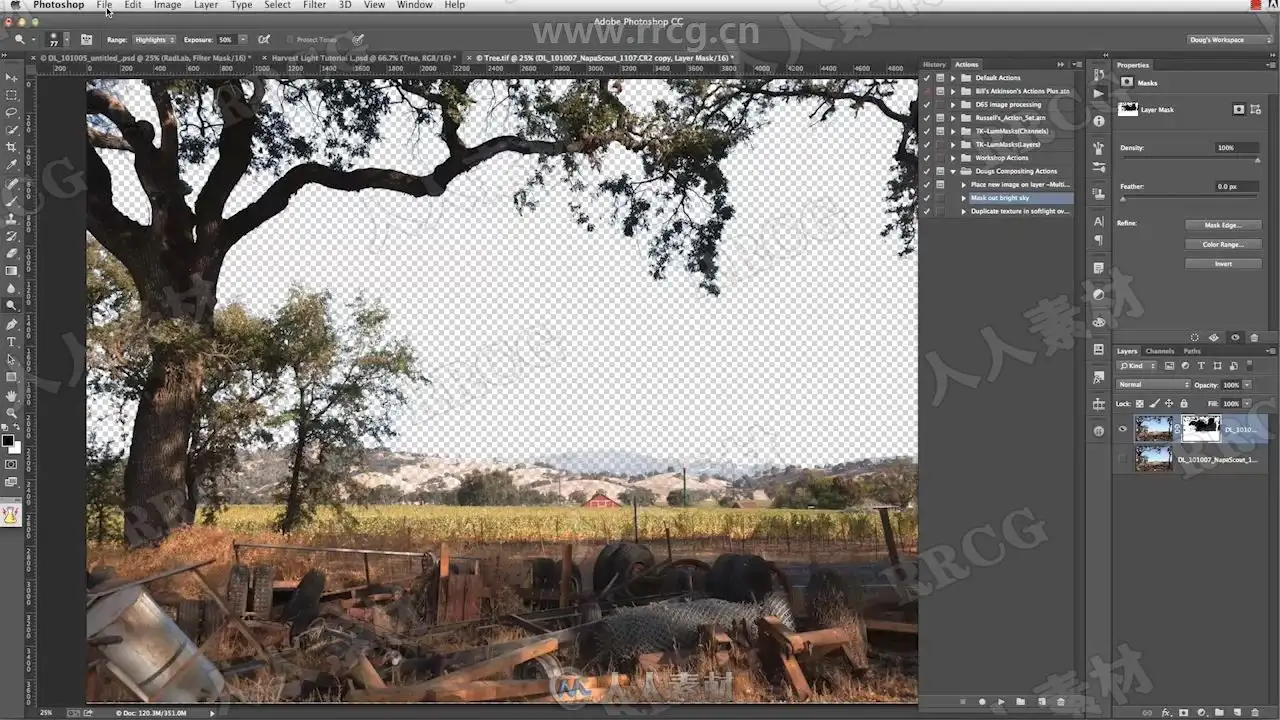
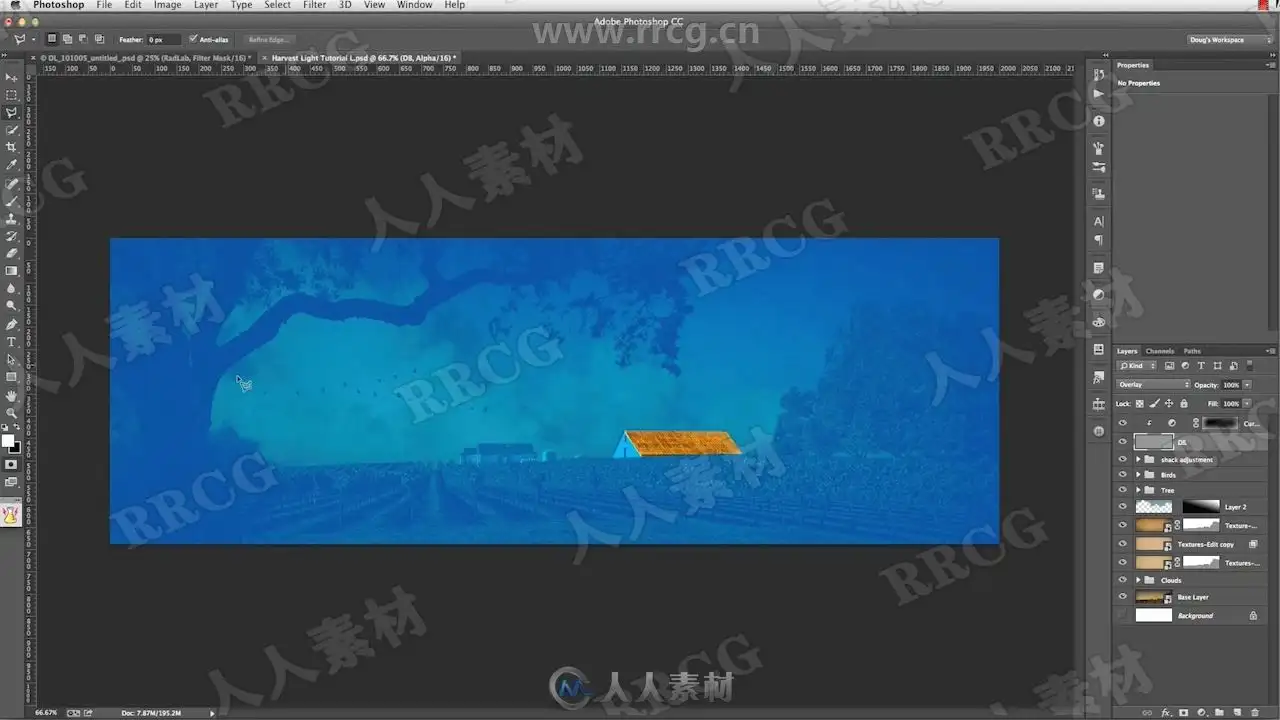
“Mask out bright sky” works to create a mask based on the blue channel in the image. This works for images that have clear blue skys where you’d like to eliminate the sky and keep what’s silhouetted against it. There is a good chance that the mask will need to be adjusted further, but this is often a real time saver for images with a clear blue sky.
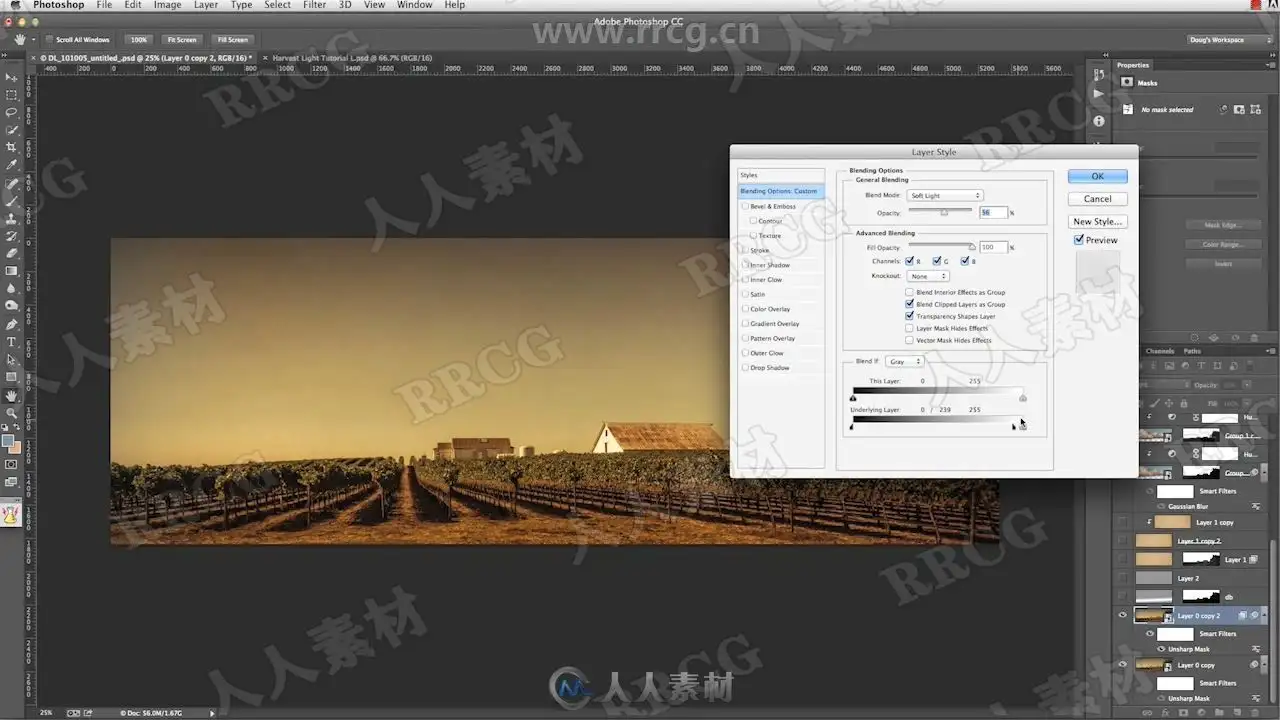
“Dupe layer soft100 over Mult65” is a quick way that I like to apply texture layers. After bringing in a texture file and scaling it, (possibly using the 1st action), this will create a duplicate layer set to soft light at 100% opacity over the top of the original layer which will be set to Multiply at 65% opacity. This is a good start to applying textures… and is of course modifiable by changing the opacities and blend modes further, but is one of my favorite ways to start with a texture.
“Add Dodge Burn layer” will add a layer filled with 50% grey set to overlay blending mode and name it DB. This is useful for dodging and burning the underlying layers in a non-destructive way.
“Convert to Smart Object” is just a quick action to convert an image layer, or group, or multiple layers into a smart object without having to use the menu commands.
资源截图


评论0